🔥 LIMITED OFFER: Get 20% off all orders this week! Use code: PRO20⚡ FREE SHIPPING on orders over $50!✨ New arrivals are now live on the store!🔥 LIMITED OFFER: Get 20% off all orders this week! Use code: PRO20⚡ FREE SHIPPING on orders over $50!✨ New arrivals are now live on the store!
If you’re looking for a fun and creative project that’s perfect for kids and adults alike, hand-painted wooden peg dolls are the way to go!
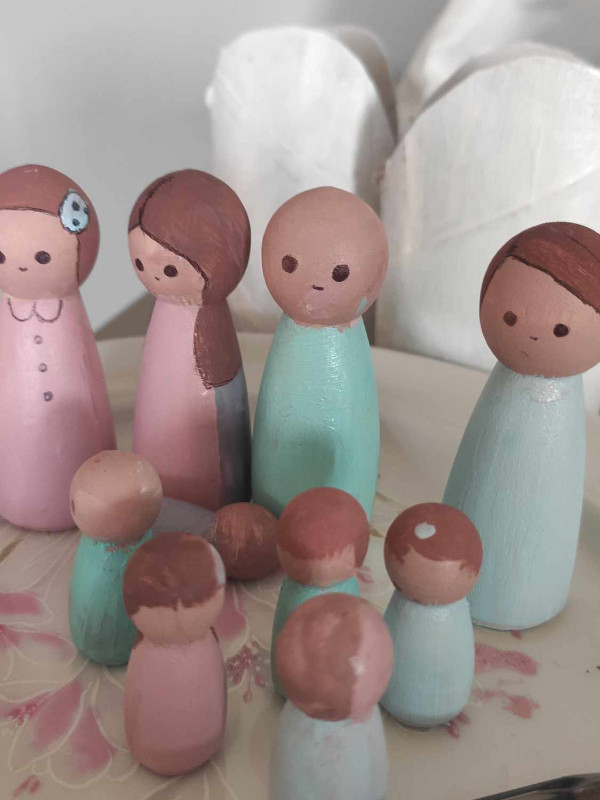
These charming little figures can be customized to resemble anyone—from family members to favorite characters—and make fantastic gifts, playtime companions, or even home decor. Plus, with our free printables, you’ll have all the tools you need to get started, including design templates and accessory cutouts.
I’ll guide you through the process of creating your own wooden peg dolls, painting tips, and free printables to make this DIY project easier and more fun!
Wooden peg dolls are timeless toys that encourage imaginative play. Unlike mass-produced plastic figures, hand-painted peg dolls allow you to inject your creativity and personality into each design. Whether you’re making a set of dolls for your child’s toy collection, a handmade gift, or a cute decoration for your home, they’re easy to customize and can be designed in endless styles.
What You’ll Need for Your Peg Dolls
To get started, gather the following supplies:
Supplies:
Wooden peg dolls (available at craft stores or online in various sizes)
Acrylic paint (in your choice of colors)
Paintbrushes (fine-tipped for details)
Clear sealant or varnish (optional, for durability)
Pencil or fine-tip markers (for sketching outlines)
Palette or plate (for mixing paints)
Free printable design templates and accessories (download below)
Free Printables:
Printable design templates: These include basic outlines for faces, clothes, and accessories to help you plan your designs before painting.
Accessory cutouts: You’ll find printable paper accessories like tiny crowns, hats, and capes that can be glued onto the dolls after painting to give them more personality.
Download the free printables here:
Peg Doll Design Templates
Printable Accessories (Crowns, Hats, Capes, etc.)
Step-by-Step Guide to Painting Wooden Peg Dolls
1. Prepare Your Workspace
Find a well-lit area to work in and lay down some newspaper or a protective mat to prevent paint spills. Set up all your supplies within easy reach.
2. Choose a Design Theme
Before you start painting, think about the theme for your peg dolls. Are you creating a family set, characters from a favorite story, or whimsical creatures? Using the printable design templates, sketch out your ideas first. This will help you decide on the colors, shapes, and details you’ll need to paint.
Here are some fun theme ideas to try:
Family Portrait: Make peg dolls of your family members with clothes and hairstyles that match their real-life counterparts.
Fairytale Creatures: Paint magical creatures like fairies, gnomes, and woodland animals.
Superheroes: Create mini versions of your favorite superheroes, complete with capes and masks.
Seasonal Figures: Paint holiday-themed peg dolls, like snowmen for winter or pumpkins for fall.
3. Paint the Base Layers
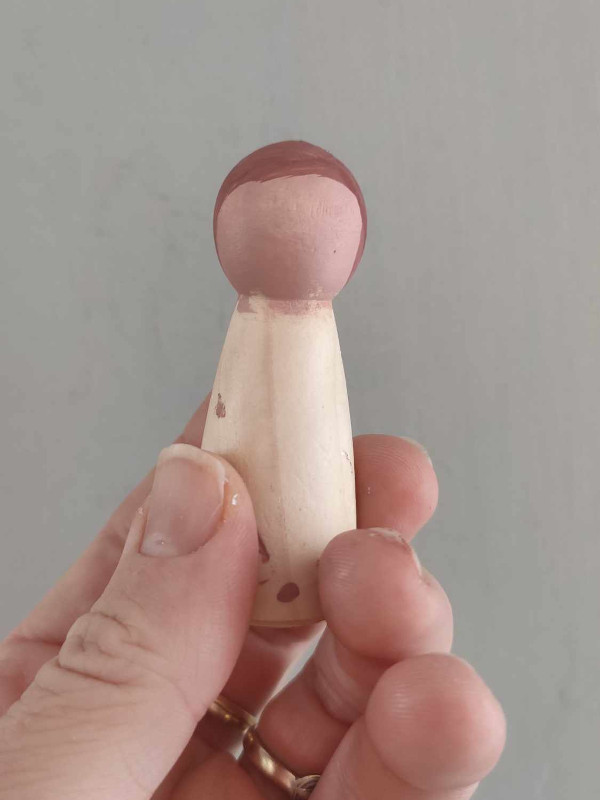
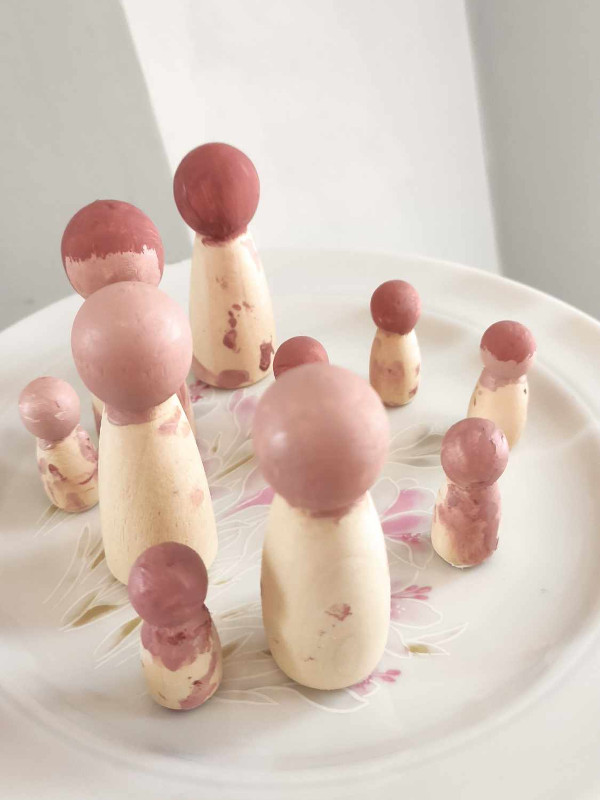
Start by painting the larger areas of the peg doll, such as the head and body, with base colors. Use a larger brush for these sections and let the paint dry fully before moving on to the details.
For example, if you’re painting a superhero, begin by painting the body in a solid color like red or blue. For a princess or fairy, start with the dress or gown color.
Pro tip: Thin your paint slightly with water for smoother coverage and fewer brush strokes. Make sure to allow each layer to dry before adding additional colors or details.
4. Add Details with Fine Brushes
Once the base layers are dry, switch to a fine-tipped brush to add smaller details like facial features, hair, clothing details, or patterns. You can use the design templates from the printables as a guide to help sketch out these details with a pencil before painting.
For faces, simple features like eyes, a small smile, and blush on the cheeks work best. You can add tiny embellishments to the clothing, such as buttons, belts, or jewelry, to give your peg dolls more personality.
5. Accessorize with Printable Add-Ons
Now it’s time to make your peg dolls stand out with accessories! Print and cut out the accessories from our free printables, such as crowns, hats, or capes. After painting, glue these onto your peg dolls to complete their look. You can even use small pieces of fabric or felt for additional texture if you prefer.
For instance, if you’re making a knight, glue a paper sword and shield onto the doll. Or, if you’re creating a princess, a tiny paper crown will add that magical finishing touch.
6. Seal the Paint (Optional)
If your wooden peg dolls will be used as toys or handled frequently, it’s a good idea to protect the paint with a clear sealant or varnish. This will prevent chipping and wear, especially on detailed areas like the face or clothing.
Apply a thin layer of sealant and allow it to dry completely before playing with or displaying your peg dolls.
Display or Play!
Once your peg dolls are complete, the fun doesn’t stop! These versatile little figures can be used for:
Playtime: Peg dolls are perfect for imaginative play, storytelling, and acting out scenes. Create different sets of dolls to match various storylines and encourage creativity.
Decorations: Display your peg dolls on a shelf, in a shadow box, or as part of a seasonal decoration.
Gifts: Hand-painted peg dolls make wonderful personalized gifts for birthdays, holidays, or special occasions.
Party Favors: Create a set of custom peg dolls as party favors for kids’ birthday parties, where each guest gets a unique character to take home.
Download Your Free Printables
To make your wooden peg doll project even more fun, be sure to download our free printable design templates and accessories. These tools will help guide your designs and add extra flair to your creations.
Peg Doll Design Templates
Printable Accessories (Crowns, Hats, Capes, etc.)
Final Thoughts
Painting wooden peg dolls is a simple and fun DIY project. It allows for endless creativity and personalization, whether you’re making a family portrait set or crafting whimsical characters from your favorite stories. With a few basic supplies, our free printables, and a bit of imagination, you can create adorable peg dolls that will be cherished for years to come.
We hope you enjoy this project as much as we do! Don’t forget to share photos of your finished peg dolls and let us know what themes or characters you’d love to create next.